How-to
Compress an image without losing visible quality
Most images leave a camera or design tool heavier than a browser or email needs them. Compression is not about degrading your image: at the right quality setting and format, the output looks identical to the source and loads two to five times faster. The key is choosing the right format first, then tuning quality second.
Step by step
- Choose the output format before touching the quality slider. JPEG or WebP for photographs, PNG only if you need a transparent background or lossless pixel accuracy. WebP beats JPEG by 25 to 35 percent at the same visual quality, and every modern browser supports it: prefer it whenever you control where the image will be displayed.
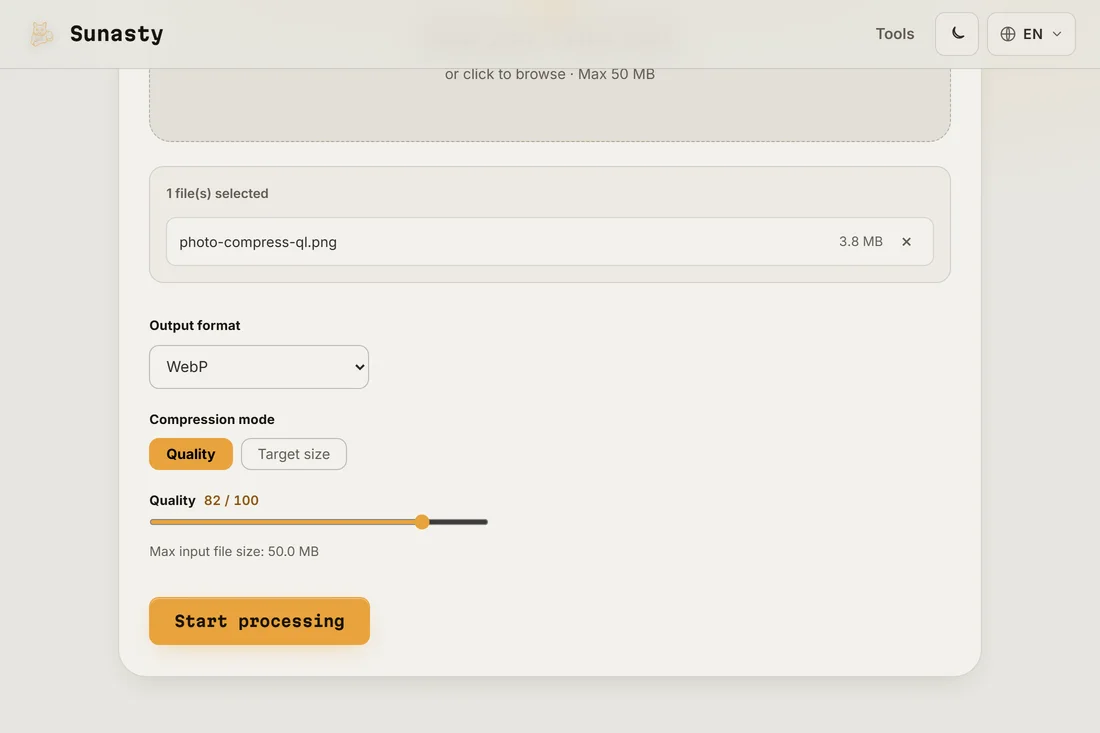
- Drop your image into the compressor and adjust the quality slider. Start at 80 percent for photographs and compare the before and after previews side by side. Drop to 70 if the file is still too large: the difference is rarely visible at normal screen sizes. For graphics with sharp text or flat colors, switch to PNG lossless or try SVG if the source is vector art.
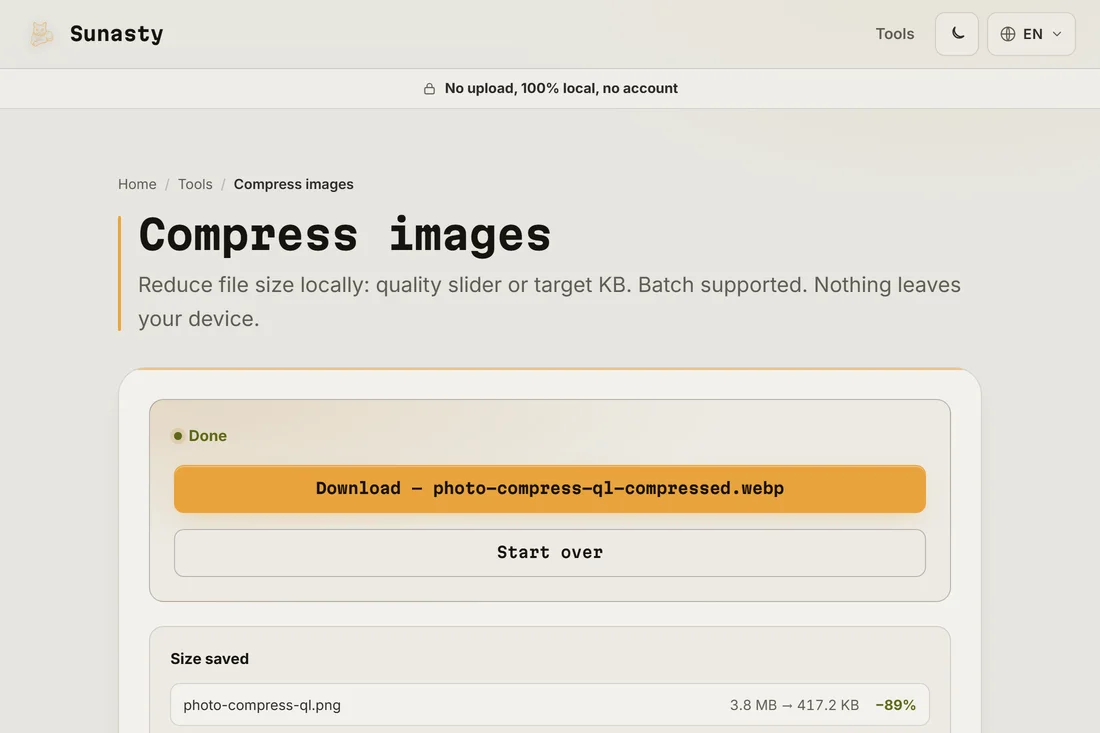
- Download the result and check it at 100 percent zoom before publishing. If a site upload recompresses your image again (social media typically does), send a slightly higher-quality version so the double compression stays acceptable. The compressor runs entirely in your browser: your file never leaves your device.
Why format choice matters more than the quality number
A JPEG at quality 80 and a WebP at quality 80 look similar on screen but the WebP file is meaningfully smaller. AVIF goes further still, though encoding takes longer. PNG, often misused for photos, produces files several times larger than a JPEG for the same photograph because it is lossless by design. Resizing before compressing also helps: a 4000-pixel-wide photo scaled to 1200 pixels for a blog column header shrinks far more from the resize than from any quality setting.
Why compress locally instead of uploading
Server-side image services make you upload your original, often a raw photo from a phone, and download a compressed copy. The compressor here runs in your browser using the same algorithms: nothing is uploaded, there is no account, no queue, and your original file stays on your device. You can batch multiple images at once, and the results are ready to use or share immediately.
The tools used in this guide
Frequently asked questions
How do I know if I have gone too far with compression?
Zoom the output to 100 percent and look at textured areas: hair, fabric, foliage. Lossy compression shows as blocky patches or smeared detail first in those regions. If you see it at 100 percent zoom, viewers on a phone will too, so raise the quality setting by 5 to 10 points and try again.
Should I resize before or after compressing?
Resize first. A 4000-pixel-wide image scaled to 1200 pixels loses three quarters of its pixels regardless of quality, which is always the bigger saving. Use the image resizer to set the exact pixel dimensions you need, then compress for format and quality. Compressing a huge image and then resizing it later is just wasted effort on both ends.